How to Test Electric Fence?
- Share
- Issue Time
- Aug 9,2021
Summary
When the electric fence fails during use, we need to find out the specific point of failure through testing. This article will specifically introduce the method of testing the electric fence.
When you find that the electric fence is out of power, the voltage is too low, or somewhere along the fence line is out of power, you need to find the fault point through testing. It is recommended to prepare an electric fence tester so that you can test the electric fence correctly. The following is the specific method of testing the electric fence.
Check battery/power
If your electric fence is completely powered off, there may be a problem with your battery or power supply.
Socket
Your fence tester cannot be used in a socket, but you can plug another electrical device (such as a lamp) into the socket and check whether it works. If the project cannot be energized normally, please consult an electrician. The socket should provide a voltage between 105 and 125 volts to the charger.
Solar power charger
Use a voltage tester to measure the battery voltage. If performance is poor, you may need to replace it. The battery in the solar charger can be used for about 1,000 days (3 years). If the service life has expired, it is recommended that you purchase a new battery. In addition, solar cells may lose power after long periods of no sunlight or very little sunlight. The 12-volt battery should be tested at 12 volts to properly power the charger. A 6 volt or 6/12 volt battery should show at least 6 volts during the test.
Battery
If you have a battery-powered non-solar DC fence charger, you should check your DC battery to see if it provides the proper power. Your battery may be depleted due to a short circuit somewhere in the fence, so you need to check for a short circuit before reconnecting this battery.
Terminal test
The terminal is a port used to connect the connecting wire to the exciter. Testing these columns can help determine whether the energizer is outputting energy correctly.
(1) Power: Turn off the power of the exciter.
(2) Disconnect: Disconnect the two connecting wires from the charger.
(3) Turn on: Turn on the power again.
(4) Test: Use a voltage tester to check the voltage output.
(5) Below 2,000 volts: The energizer is malfunctioning.
Earth rod test
Many poorly performing fence systems can be attributed to insufficient ground systems. Every system should have at least three ground rods to work properly. If your electric fence is installed in sandy, dry or rocky soil, you should install more ground rods.
(1) Power supply: Connect the fence and the ground connection wire, and then turn on the power supply.
(2) Check the voltage: Read the voltage on the ground wire.
(3) If it exceeds 400 volts, your grounding rod leaks too much voltage. Add additional ground rods or make them deeper. Test again after making these adjustments.
Connection line test
The connecting wire of the electric fence is the wire from the positive pole of the exciter to the fence. Connect the second wire from the negative terminal to your first ground rod. Both of these need to be safely connected to the charger and conductivity must be fully established.
To test these electric fence wires, follow these steps:
(1) Power: Turn off the power of the charger.
(2) Fixing: Check the two connections (positive pole to the fence and negative pole to the ground rod) and make sure they are firmly connected. If one or more are loose, reconnect and turn on the power again to see if it solves your problem.
(3) Disconnect: Keep the connection wire connected to the terminal and disconnect it from the electric fence (keep the ground rod connection fully connected).
(4) Test: Turn on the power. Then, use a voltage tester to check the output of the connecting wire that is usually connected to the fence.
(5) Less than 1,500 volts: If the reading is less than 1,500 volts, your connection wire is accidentally grounded in some way. You should make sure that you are using 20 kV insulated wire. Turn off the power, replace this wire and recheck your readings.
(6) More than 1,500 volts: If the voltage reading on the connection line exceeds 1,500 volts, there is no problem with the connection line.
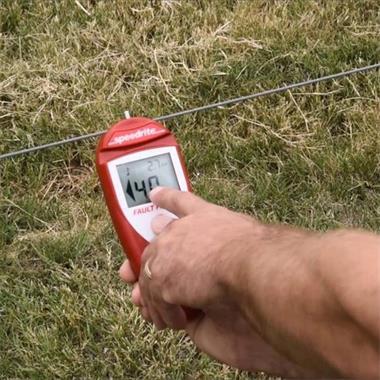
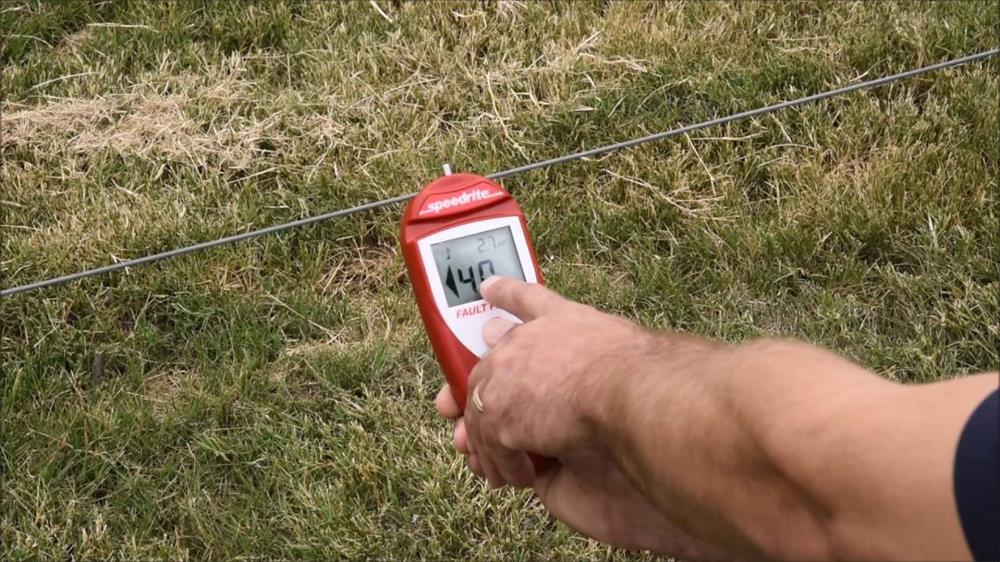
Fence test
When other problems have been ruled out, it's time to look carefully for problems with the electric fence itself.
(1) Power: Turn on the power.
(2) Walk and test: every 100 feet or so, test your route. If there is no reading or the reading is low, go back 50 feet again to test.
Tip 1: Please note that the longer the fence, the greater the voltage drop on the farthest part of the fence.
Tip 2: If there is too much voltage drop along the long fence, you may need to buy a more powerful charger or set up a second fence powered by another charger.
Through regular inspection and testing of electronic fences, we can better avoid some failures and prevent unnecessary losses. If you still have doubts about the electronic fence test after reviewing the above, you can get a comprehensive solution by contacting us.
As a professional supplier of security protection solutions for small farms and home courtyards,we have accumulated rich design and production experience in this field. We have a professional production team and strict quality inspection system and can provide effective solutions according to the actual needs of customers. If you are interested in our electronic fence and related services, please contact us immediately!