How to Install the Electric Fence?
- Share
- Issue Time
- Aug 17,2021
Summary
If installed correctly, the electric fence can give full play to the working effect of its application which prevents animals from being attacked or stolen. This article will specifically introduce the steps to install the electric fence.
The design of the electric fence is based on the principle that animals change their behavior due to electric shocks. If the electric fence is improperly operated in the following installation steps, it is very likely that the desired effect will not be achieved.
(1) The first step is to locate all of your corner posts, gate posts, and end posts.
(2) Install all corner and end posts, but don't install the bracing just yet, and don't install your in-line gate posts yet.
(3) You need a guidewire or rope to establish a good straight fence line now. Since we are going to install a rope fence system we recommend that you use rope for your guidewire. It will later be used as your bottom rope. Take some time to stretch your guide wire - i.e. snap it up and down and get it tight and straight.
(4) Once you have a guidewire all the way around you can locate any in-line gate posts, knowing that they are in a straight line with the fence.
(5) You can install your bracing to your corner posts and gate posts now. With the guidewire tight you can line you're bracing up so that the ropes are all straight. Corner and end posts should always be wood, metal, or concrete.
Plastic pots are not intended for corners and do not have the strength to withstand tension in the fence. Corner Posts are the base of the fence and are placed where the straight-line fence has to be bent, either at the end of a fence or where the fence takes an alteration in direction. As the electric wires do not need to be strained as tightly as a plain or barbed wire fence, the posts do not have to be as substantial as conventional wire fences.
A simple post in the ground with a bed-log laid just below ground level and at right angles to the tension will be sufficient for most situations. Should the ground be particularly boggy or multiple, highly-strung wires are planned then the more substantial "H" configuration is very stable. Suitable insulators are attached at the required intervals.
(6) The next step will be to install your line posts. The plastic posts can usually be pushed in with a foot on the strengthened footplate. The distance between posts is entirely at your discretion. The further apart they are the more the conductor wire will sag and if it is a tape, the more it will flap in the wind.
It is better to place the posts so that the line will follow the topography of the ground. In the hollows and highest points. A 5 to 10m interval between posts is fine. The in-line posts may be either wooden posts with suitable insulators attached or plastic posts pressed into the ground.
(7) Now, you will have all your corner, end, gate posts, and line posts installed.
(8) Mark all your posts, indicating the location of your strands of rope. It is quite simple to take an old yardstick or something similar to use as a template. This will assure that your rope is equally spaced thru-out your system.
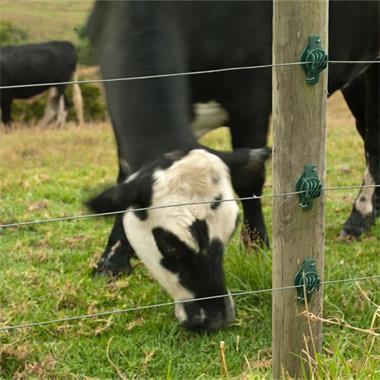
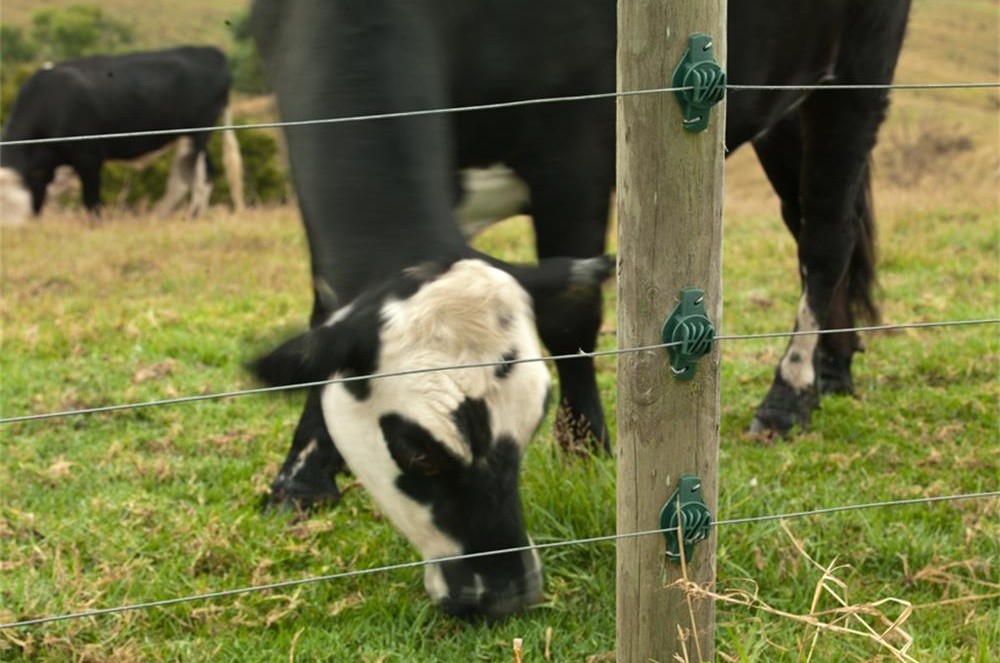
(9) Corner insulators need to be installed at the heights required now. The conductors need to be aimed at the animals' most sensitive organ, the one they use the most to investigate unusual objects - that is the nose. The majority of animals use it to test out unknown features. The nose height of the resting target animal dictates the positioning of the first line. The second line should be sited in a position so that if the animal crouched to get under the first line it will again get the nose or the top of the legs.
(10) If using wood or steel corners, you will now mark the locations of your end strain insulators that you will attach your rope to. You may use either rope or hi-tensile wire to attach the end insulator to the end and corner posts.
(11) Now you are ready to start attaching and tensioning your rope to the posts. Attach one end to the end insulator, looping it thru the insulator, and then use a rope clamp to secure it.
Using a dowel through the center of the reel, walk the rope to the other end reeling out the rope behind you. Attach your rope around the other end post and strain your rope - don't be overly nervous. After you have achieved adequate tension, secure the rope with a clamp. Make sure to use proper joins and tight connections throughout.
(12) Now you are ready to attach the rope to all the line and brace posts. Allow the rope to "settle in" for about 24 hours, and then re-strain the rope.
(13) Install all jumper wires to transfer power from each leg of the electric fence to the next. These will ensure there is a good connection for the transmission of electricity.
When simply tying a knot, it is imperative that the filaments are bared and twisted together to optimize the connection. The wire should be joined using a knot that maximizes the contact area between the incoming and outgoing wire.
(14) Install your energizer and grounding and energize your new fence. Find a suitable location for your electric fence energizer. For a mains unit, this can be under an overhang or inside your basement or garage within easy reach of a 220v power source. 12v and 9v battery units should be sited away from animal so that it is not damaged. Solar units must be well protected as they are very fragile. Attach the electric fence energizer to the wall, but do not plug it in yet. All energizers are supplied with installation directions.
After successfully installing the electric fence, we can conduct appropriate tests to see if there are any problems and then deal with them in time. If you want to learn more about electric fences after reading the above, you can contact us for related solutions.
As a professional supplier of security protection solutions for small farms and home courtyards, we always put the needs of our customers first. We continue to develop new features and products, and also provide a complete quality warranty for the products. At the same time, we can also provide corresponding customized services according to customer needs. If you are interested in our electric fence, please contact us immediately!