A Detailed Guide For Installing Electric Fences
- Share
- Issue Time
- Nov 16,2021
Summary
If we want the electronic fence to achieve an effective barrier effect, we need to pay attention to many things when installing it. This article will share with you the complete guide for installing electronic fences.
Electric fencing seems complicated to most people—so many different fence chargers, insulators & wires to choose from. We hope the following information will help you build an effective electric fence that will accomplish your purpose.
Choose the fence type
Decide whether you want to build a temporary or permanent electric fence.
Temporary fences
Temporary electric fences are used to control animals inside a permanent fence, usually consisting of one or two wires attached to plastic or metal rod posts. They are easy to install, move, and takedown.
Permanent fences
Permanent electric fences are used to fence animals inside a property, fence out predators, and separate breeding animals. A permanent fence usually consists of multiple wires attached to steel “T” posts or wood posts.
Most people use a combination of permanent and temporary fencing to control animals.
Another option is to add electric fence wires to an existing non-electric fence. Attach one or more “hot” wires to existing fence posts or fence wires to keep animals away from the fence.
Select the electric fence parts
The type of animals to be controlled will determine material selection.
Types of energizers
Buy the most powerful fence charger (energizer) you can afford. Buy a digital voltmeter specifically designed for an electric fence to check the voltage on your fence regularly.
There are three types of fence chargers
110-volt plug-in: Most power for the money, often rated in “joules”-the more the better.
6-12 volt battery-powered: Less power for the money, good for remote areas.
Solar-powered: Good for short fences in remote areas. (can be used on longer single wire clean fences.)
Types of insulators
Most temporary fences use small gauge (14 to 17 gauge) steel wire, or poly wire, or poly tape. A metal rod or plastic posts are usually spaced 20 feet to 30 feet apart. Making the fence visible is important but not necessary. If using steel wire, flag the fence with colorful tape if desired.
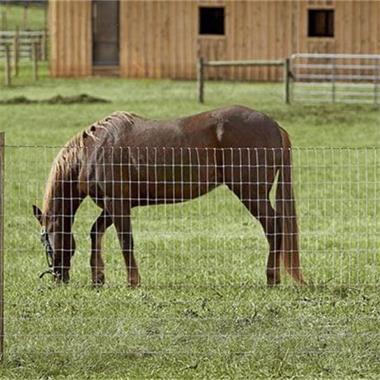
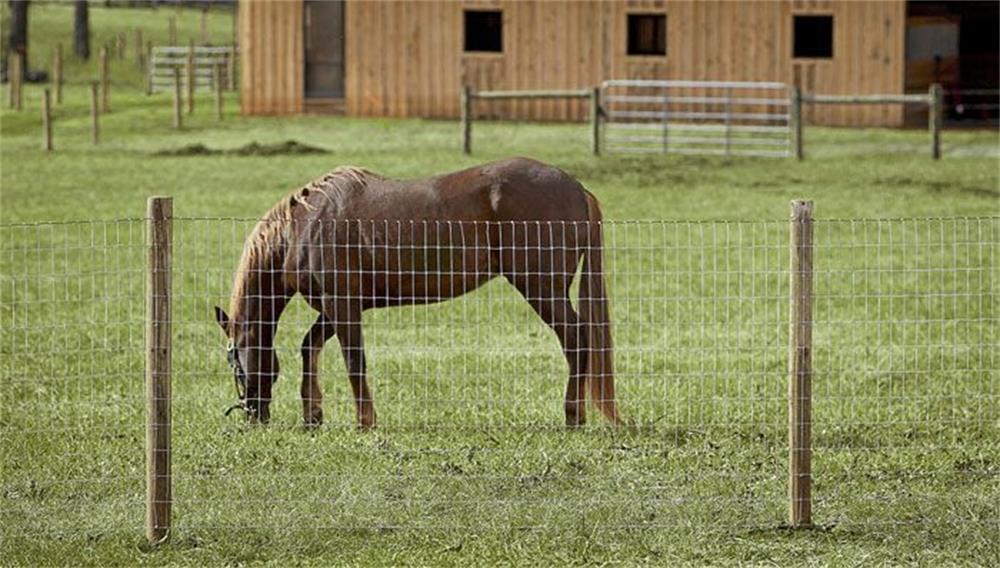
Most permanent electric fences use a high-tensile smooth wire (12.5 gauge), or heavy-duty poly tape or poly rope for horses primarily. Posts are spaced according to the terrain and size of the fenced area.
Electric fences should be kept clean of vegetation. No matter how powerful your fence charger claims to be, weeds and grass touching the wires will reduce voltage and can make your fence less effective.
Install the fence & ground system
(1) Install ground rods 10 feet apart.
(2) Install the fence, fence charger, and ground system.
(3) Install an effective ground system with three six-foot-long ground rods, spaced ten feet apart.* Use ground rod clamps and galvanized wire or insulated cable to connect ground rods to each other and to the fence charger. Without a good ground system, your animals won’t get shocked when they touch the fence.
(4) Install the fence charger (energizer) undercover, several feet above the ground. Install solar-powered fence chargers in an open area facing south (northern hemisphere). Use the insulated cable, rated up to 20,000 volts, to connect the fence charger to the fence. Install cut-off switches to isolate sections of your electric fence if desired.
Test your ground system
(1) Before connecting the fence charger to the fence and ground system, turn it on and check the voltage with your digital voltmeter. It should read 5,000 volts+. Now connect the fence and ground system and check the voltage again. If the voltage drops more than 2,000 volts then you have a problem with the fence or your fence charger isn’t powerful enough. Models DE 20, DE 60 and DE 80 will register only 2,000+ on a clean fence.
(2) Check the fencing problem solver to resolve most trouble areas of your electric fence.
(3) Check your fence at the farthest point from the fence charger. Touch probe on top of the tester to an electrified wire and touch the other lead to the ground. This will tell you how much voltage, which is the speed the energy is being delivered to your animals. A minimum of 2,000-3,000 volts is necessary to absorb most animals.
A properly constructed electric fence will have 5,000 to 8,000 volts, depending on your Fence Charger. That might sound like a lot but electric fences emit an extremely short electric pulse that is harmless for animals and people of all ages but will get your attention.
(4) An electric fence requires regular checks to make sure it is working properly. Check the voltage at least once a day if possible. Walk the fence on a regular basis looking for broken insulators, loose connections, and other potential problems.
Introduce animals to the fence
The electric fence works because animals are afraid to touch it, but they must learn that touching the fence will shock them. Put animals behind a new electric fence during daylight hours, giving them a chance to see it. If necessary put some hay or grain under the fence to speed up the “learning” process. It can take up to three days to train animals to your fence.
If you want to learn more about electronic fences after reading the above, you can contact HPS Fence for a comprehensive solution.
As an experienced supplier of electronic fence supplies, HPS Fence is committed to realizing effective nomadic protection for users. In order to control the quality of products, we are equipped with a professional production team and a comprehensive quality inspection system. We can also provide effective solutions according to the actual needs of users. If you are interested in our electronic fence products, please contact us immediately!